Friday, November 2, 2012
Lesson 7: Rule of Thirds
The rule of thirds is actually a rule I've unconsciously followed in the past without realizing. Looking at photographs I've taken in the past I notice that I sometimes shift the lens so that its not fully centered on the subject to add either add space for direction of motion or just because I felt it looked right. Sometimes to get someone to look at something, centering the subject takes away from what you're trying to project. (If you look back into my flickr or tumblr you will absolutely see many instances where I've done this). For this project however, I decided to take a walk in an abandoned neighborhood-while my passion is in photographing people and places, I decided architecture might be an interesting way to portray the rule of thirds. I took a walk and tried my best to focus on one-third of the frame for each photograph. I had difficulty lighting in a few of the frames because I didn't use flash and photographed in the shadow of the sun. Also, finding good contrast or colors becomes difficult when you photograph older buildings. I would like to re-shoot this place when the external flash I ordered comes in on monday to experiment with alternative results. The vibrance is hard to find when everything has a natural grey look to it. In the past I have learned that photographing from an angle of the frame is much more interesting to me than photographing straight on down the center yet at the same time, photographing color is much more interesting than photographing simple grey. Maybe I should attack this place sometime earlier in the day or not at dusk when there is more light to be found.
Sunday, October 28, 2012
Lesson 6: In Camera Flash
I'm sorry I'm a little late in getting this up, we've just been running around preparing for the storm, I hope everyone stays safe!
In real life situations, flash has helped me fill in harsh shadows from direct sunlight for example here: This is my sister and her two little boys, using my in-camera flash really did help me when photographing them and I know I would not have had the same results had I used only natural light.
So, first off, let me begin by saying I’ve grown to really
dislike my in camera flash. I’ve
been researching external flashes for a while now and have seen the many
benefits you could have by using them.
Their rotating heads that allow you to bounce light from place to place
so as not to create a fully blown out photo because of the flash are a huge benefit. Their flash covers that allow you
to soften the light that projects onto your subject are also very beneficial. Also, if you have an in-camera flash and a longer lens, the
flash can project onto the lens creating a black shadowy outline at the bottom
of your photograph. What I’ve also
learned is that I really love using natural light when it comes to
photographing, pretty much anything.
I’m blaming it mostly on the fact that I haven’t completely learned how
to control my in-camera
flash. In many scenarios however,
flash can take away from the photograph.
For example in nature photography, the last thing I would want to do is
use my flash because I’m trying to create a natural, believable scene. Ever tried to photograph flowers with
flash? It takes the details right
out of them in my experience and creates an unnatural color and shadow behind
them. I seem to only revert to
flash when I'm taking photographs of people, but at the same time, you can’t
control your in-camera flash the way you can an external so you have to be
careful how close you are to your subjects.
For this assignment, I experimented by taking photos of my dogs outside. At first I shot them using natural light and then added the flash. The flash really did brighten the photographs in a way that differed from my natural light photos. One thing I dislike however, when using flash to shoot animals: is the fact that their eyes always reflect. I know you can fix this with Photoshop, but oftentimes there is a glow around their eyes that can also distort the photo. For this reason, I couldn't bring myself to post these photos right away as I believed I could do better. I find that I like flash best when it comes to portraits. Sadly the only models I have at the moment are my dogs...so here goes.
![]() |
| Diffuse Flash Photo |
![]() |
| Get In Close |
![]() |
| Slow Sync Flash |
In real life situations, flash has helped me fill in harsh shadows from direct sunlight for example here: This is my sister and her two little boys, using my in-camera flash really did help me when photographing them and I know I would not have had the same results had I used only natural light.
Sunday, October 14, 2012
Lesson Five: White Balance
White balance is you or your cameras guess at what true white should be,
which dictates what the other colors in your photograph should be.
Depending on what you’re shooting, your photographs can come out a number
of different tones that may or may not be what the correct color of the natural
light you're shooting in. White
balance is used to avoid unwanted color tones that might make for unrealistic looking
photographs. The last thing I want
to do after getting my exposure right in a photo is go home and edit the color
cast in the photo if I didn’t have to edit it. (Not counting editing for fun).
The
different modes for white balance on my camera are shown by an assortment of
icons representing Auto White Balance, Custom, Kelvin, Tungsten, Fluorescent,
Daylight, Flash, Cloudy and Shade.
By experimenting with each white balance you can determine which looks
most natural, meaning it doesn’t have a green, blue or orange overcast. For example if you go outside and set
your white balance to tungsten light, your photo will come out blue because
tungsten is used to cool down any false light that might create an orange tone. Tungsten turns natural light blue. Auto White Balance is what I normally
revert to when shooting outside, simply because I don't take the time to experiment.
The camera usually guesses natural light accurately enough for me, I’ve
noticed. However after shooting this assignment I'm going to start being for conscious of what white balance I use. Shooting indoors can be tricky. Whether you’re in a coffee house or a
church or a house or an office, the color cast of the unnatural manmade light
can be an undesired effect that can be countered by experimenting with white
balance.
To
set a custom white balance you need a target or a grey card or even possibly
part of the scene that you’re in that might be neutral. When I used to photograph weddings with
a local photographer, I used to hold his target so he could set a custom white
balance at the church if the tone of his photos tended to be a bit extreme on
the warm side. If we didn’t have time for the target, he would should part of
the brides wedding dress in the hopes that we could get an accurate reading.
![]() |
| Daylight |
![]() |
| Cloudy |
![]() |
| Tungsten |
![]() |
| Fluorescent |
![]() |
| Flash |
![]() |
| Custom |
![]() |
| Kelvin |
![]() |
| Auto White Balance |
Sunday, October 7, 2012
Lesson 4: ISO and Sensitivity
ISO settings are the digital equivalent to ASA film speed. The ISO
measures the sensors sensitivity to light. It determines the sharpness or
graininess of a photo. In digital photography the higher the ISO the more
sensitive to light it will be. Generally you want a higher ISO when
you're in low light situations as you will be able to choose a faster shutter
speed and limit the amount of blur in your photos, however this comes at the
price of the quality in your photograph; The higher the ISO, the more grain and
noise there will be in your photograph.
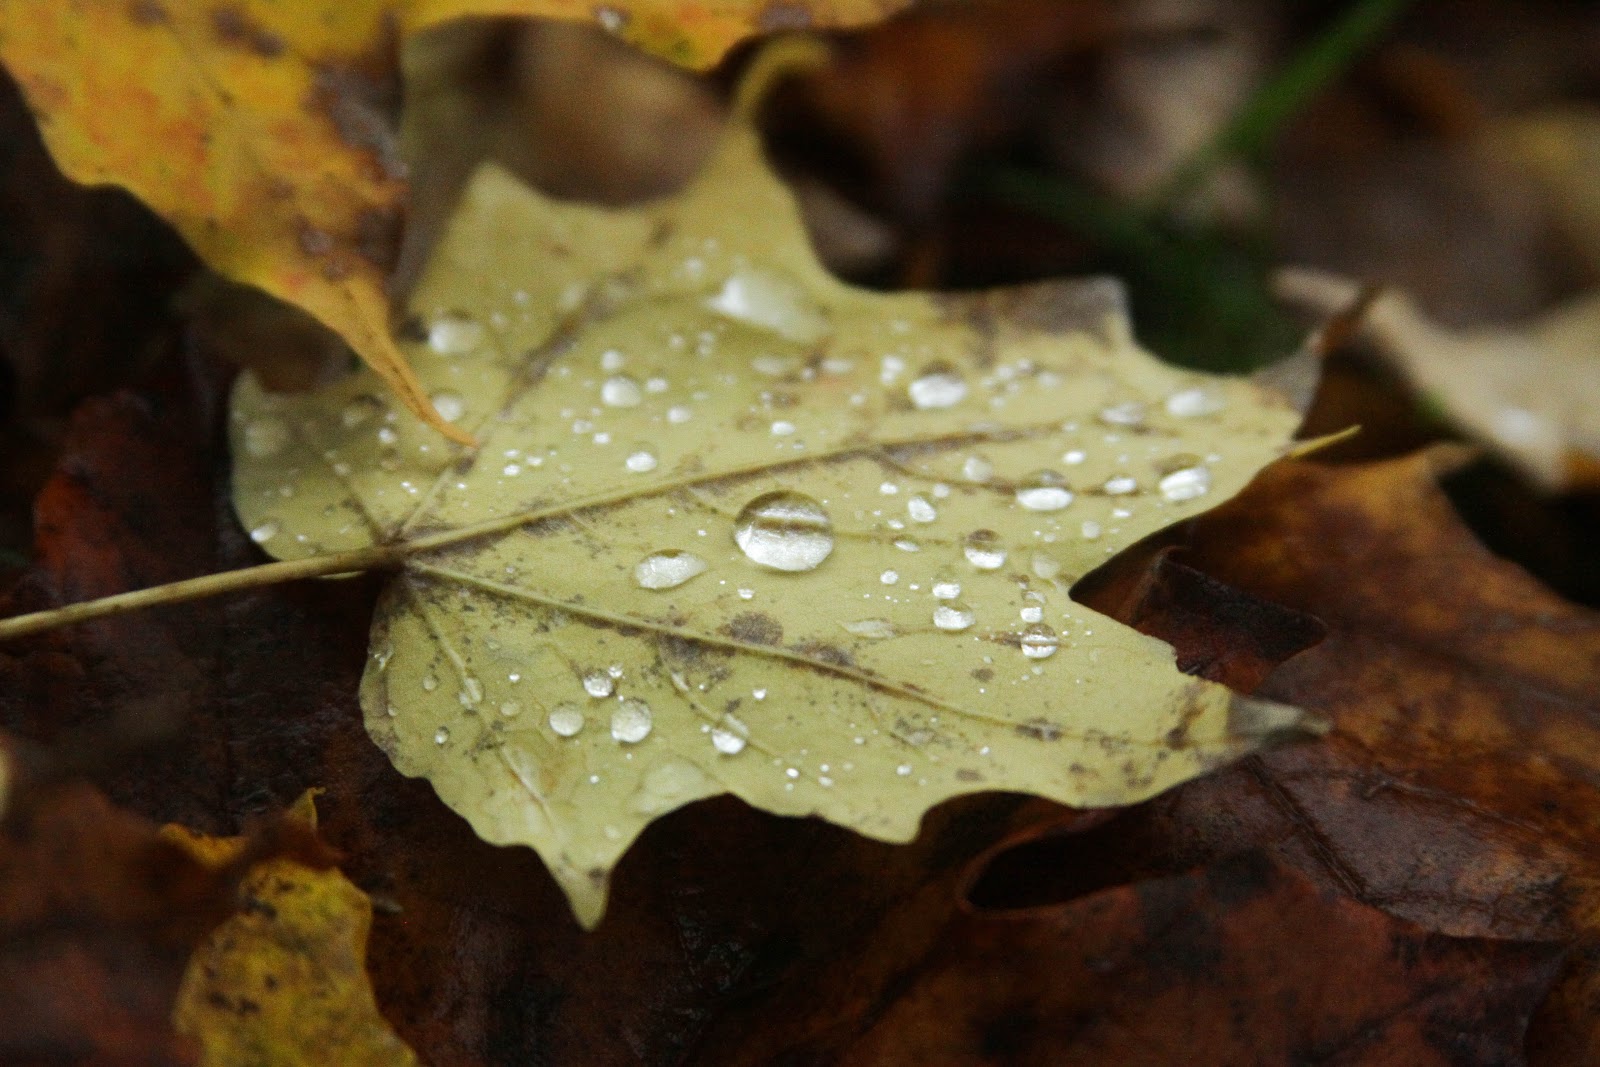
In extreme situations where there is a lot of natural light, you want to use a lower ISO setting-extreme light probably meaning around 100. At the minimum I'd probably go to a 200 in the interest of exposing the photo correctly. I always like my photos to have more light than not; I absolutely hate having to correct dark photos; More-so than trying to correct overexposed ones. For this assignment I went outside toward the evening time and photographed some fall leaves. Gosh its been raining so much here.
I’ll be honest, there are a lot of times when I’m photographing where I’m way more In real life situations concerned with my aperture and shutter speed than with my ISO. This is a mistake. ISO, aperture and shutter speed are the three keys that allow for the right combination. To be sloppy or lazy with one will never allow for a successful photographer. Don’t get me wrong; sometimes you’ll get lucky. I get lucky more than I should with the way I sometimes shoot. But this is the reason I’m taking this class: To practice, to get better and to correct previous unbeneficial tendencies. Being lazy with ISO is a big one. Depending on your style of photography you might want a photo with more grain. On the other hand one day you might be sitting with your camera about to take a photo and not understand why, when you get home you didn’t take the time to change your ISO to something less than 1600 when clearly you didn’t need it and your favorite photograph is now filled with grain, and its not the sand in the photo. My goal is to correct these flaws before I ever leave the scene of my photographs.
In real life situations ISO would be convenient to understand for low light situations. For example, if you are a wedding photographer and are not allowed to use flash during the ceremony and the church is dark-there is nothing you can do about the situation. You need to learn ISO as a means of a last ditch effort for this circumstance. If you cannot use flash or a slow shutter speed (because people will not remain still for you, they're kind of busy), the best thing you can do is use a fast ISO. Although 3200 would be extremely grainy and full of noise, it might be your only option. However on the other hand, if its a very bright sunny day, you can use a relatively low ISO (100, 125, 200) and have little to no noise in your photographs.
In extreme situations where there is a lot of natural light, you want to use a lower ISO setting-extreme light probably meaning around 100. At the minimum I'd probably go to a 200 in the interest of exposing the photo correctly. I always like my photos to have more light than not; I absolutely hate having to correct dark photos; More-so than trying to correct overexposed ones. For this assignment I went outside toward the evening time and photographed some fall leaves. Gosh its been raining so much here.
I’ll be honest, there are a lot of times when I’m photographing where I’m way more In real life situations concerned with my aperture and shutter speed than with my ISO. This is a mistake. ISO, aperture and shutter speed are the three keys that allow for the right combination. To be sloppy or lazy with one will never allow for a successful photographer. Don’t get me wrong; sometimes you’ll get lucky. I get lucky more than I should with the way I sometimes shoot. But this is the reason I’m taking this class: To practice, to get better and to correct previous unbeneficial tendencies. Being lazy with ISO is a big one. Depending on your style of photography you might want a photo with more grain. On the other hand one day you might be sitting with your camera about to take a photo and not understand why, when you get home you didn’t take the time to change your ISO to something less than 1600 when clearly you didn’t need it and your favorite photograph is now filled with grain, and its not the sand in the photo. My goal is to correct these flaws before I ever leave the scene of my photographs.
In real life situations ISO would be convenient to understand for low light situations. For example, if you are a wedding photographer and are not allowed to use flash during the ceremony and the church is dark-there is nothing you can do about the situation. You need to learn ISO as a means of a last ditch effort for this circumstance. If you cannot use flash or a slow shutter speed (because people will not remain still for you, they're kind of busy), the best thing you can do is use a fast ISO. Although 3200 would be extremely grainy and full of noise, it might be your only option. However on the other hand, if its a very bright sunny day, you can use a relatively low ISO (100, 125, 200) and have little to no noise in your photographs.
As I changed the ISO lower, it recorded light more slowly than a higher ISO would, this accounts for the slight blurriness in the last three photographs as it has been overcast for probably the past two weeks. =] However you can still clearly see the difference between the noise in photograph 1 and 10.
Subscribe to:
Posts (Atom)