

For this assignment I chose from a few different ideas of what to photograph. I would like to redo this week and take a day where all I did was photograph things and practice with aperture. I can’t speak for anyone else but this week flew by so fast I felt like all at once this assignment was due, and I wished I had put more of myself into it. I can’t say I’m exactly impressed with how my photo’s came out this week, but next weeks will be better and my shoot properly shows how depth of field can be created by the changing of aperture. I find that in photography, the photo’s that strike me the most are the ones that really capture something in the foreground with the shallow depth of field. I think it sort of forces the viewer to see what you see. To interpret it the way you meant for it to be seen. As with all photographs-isn’t the point to get others to see through your eyes? To pull the beauty of a moment in your life and capture it the way you saw it as beautiful?
I suppose I’m getting off topic now, but the point is I have a habit of pulling out my macro 75-300mm lens and using it to show what I thought was striking by focusing on one thing and blurring out the rest of the world, leaving no guess as to what I’m trying to see. However for this assignment I simply used my 28-135mm lens. I took my Mamiya tlr camera outside for a walk, and photographed down at it in a progression of apertures from f22-f5.0. As the photos go on it becomes clear that the concrete underneath the camera becomes more in focus as well as its straps. You can more clearly see the way it works if you look immediately from the f22 photo to the f5.0. I also kept my camera in the Av mode so that I only changed the aperture and my camera changed the shutter speed for me. I hope you enjoy these and if not, I’ll promise to set the bar a little higher for myself in the next lesson. =] Thanks
 f/5.0 at 1/400sec
 f/5.6 at 1/320sec
 f/6.3 at 1/320sec
 f/7.1 at 1/200sec
 f/8.0 at 1/200sec
 f/10 at 1/100sec
 f/13 at 1/60sec
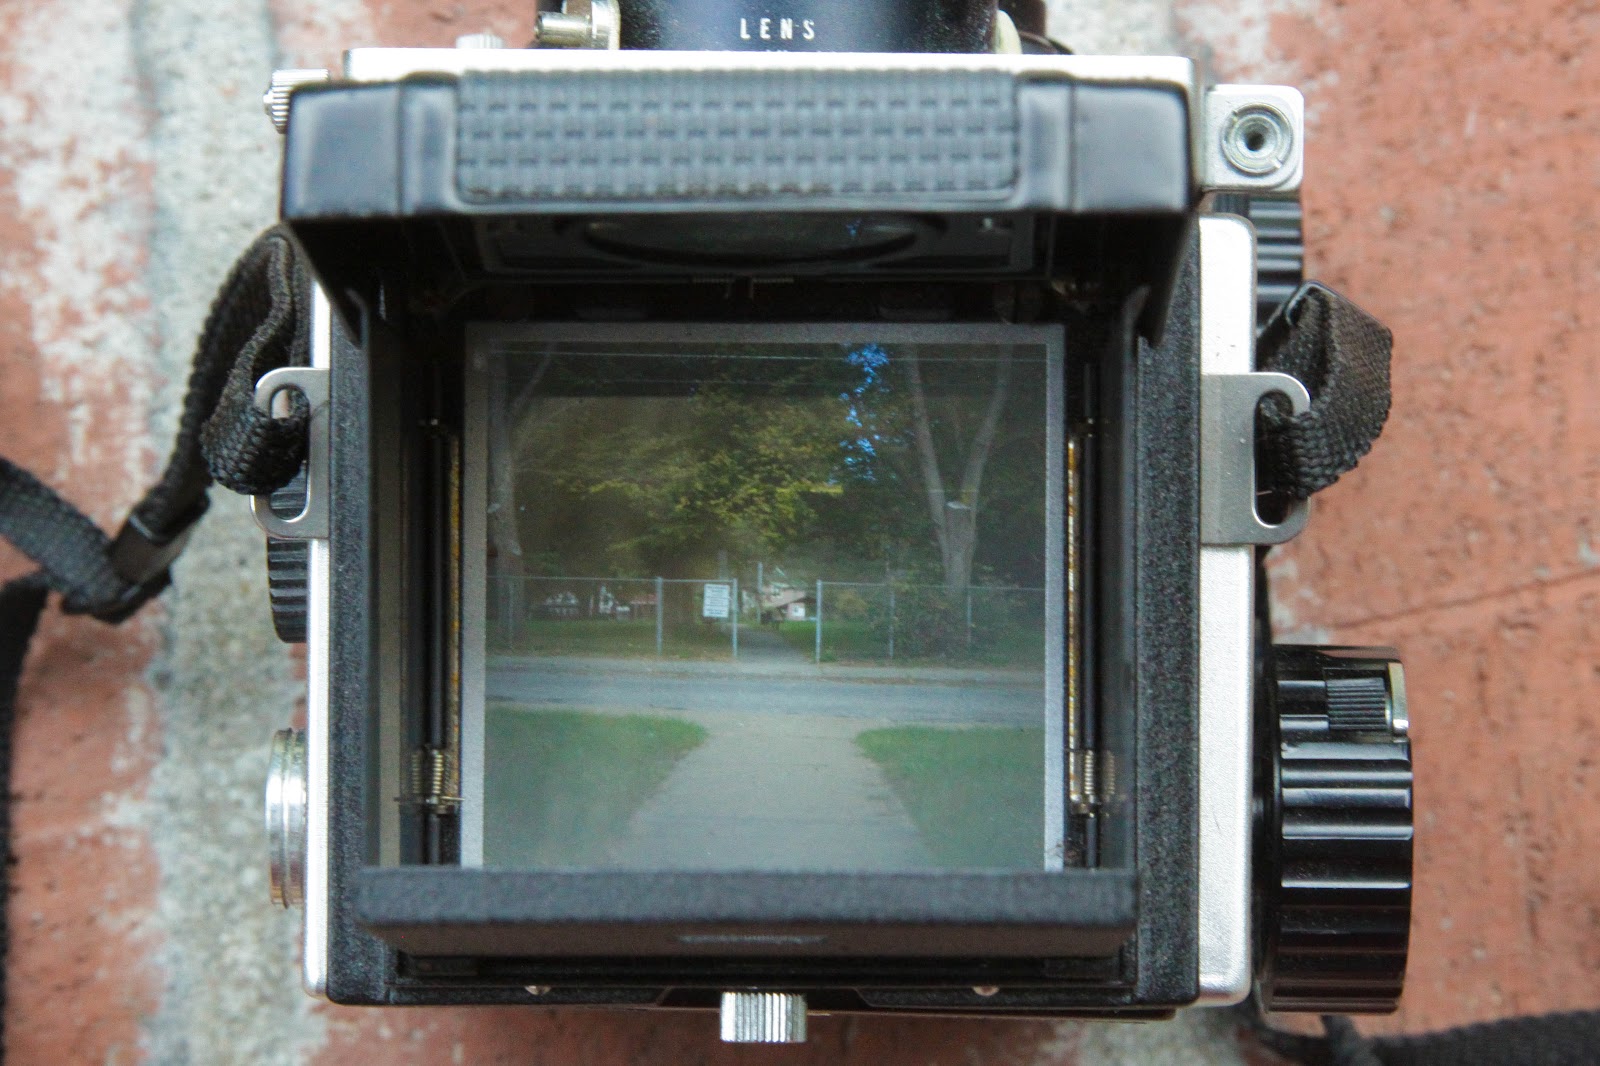 f/16 at 1/50sec
 f/20 at 1/30
 f/22 at 1/25
No comments:
Post a Comment