ISO settings are the digital equivalent to ASA film speed. The ISO
measures the sensors sensitivity to light. It determines the sharpness or
graininess of a photo. In digital photography the higher the ISO the more
sensitive to light it will be. Generally you want a higher ISO when
you're in low light situations as you will be able to choose a faster shutter
speed and limit the amount of blur in your photos, however this comes at the
price of the quality in your photograph; The higher the ISO, the more grain and
noise there will be in your photograph.
In extreme situations where there is a lot of natural light, you want to use a lower ISO setting-extreme light probably meaning around 100. At the minimum I'd probably go to a 200 in the interest of exposing the photo correctly. I always like my photos to have more light than not; I absolutely hate having to correct dark photos; More-so than trying to correct overexposed ones. For this assignment I went outside toward the evening time and photographed some fall leaves. Gosh its been raining so much here.
I’ll be honest, there are a lot of times when I’m photographing where I’m way more In real life situations concerned with my aperture and shutter speed than with my ISO. This is a mistake. ISO, aperture and shutter speed are the three keys that allow for the right combination. To be sloppy or lazy with one will never allow for a successful photographer. Don’t get me wrong; sometimes you’ll get lucky. I get lucky more than I should with the way I sometimes shoot. But this is the reason I’m taking this class: To practice, to get better and to correct previous unbeneficial tendencies. Being lazy with ISO is a big one. Depending on your style of photography you might want a photo with more grain. On the other hand one day you might be sitting with your camera about to take a photo and not understand why, when you get home you didn’t take the time to change your ISO to something less than 1600 when clearly you didn’t need it and your favorite photograph is now filled with grain, and its not the sand in the photo. My goal is to correct these flaws before I ever leave the scene of my photographs.
In real life situations ISO would be convenient to understand for low light situations. For example, if you are a wedding photographer and are not allowed to use flash during the ceremony and the church is dark-there is nothing you can do about the situation. You need to learn ISO as a means of a last ditch effort for this circumstance. If you cannot use flash or a slow shutter speed (because people will not remain still for you, they're kind of busy), the best thing you can do is use a fast ISO. Although 3200 would be extremely grainy and full of noise, it might be your only option. However on the other hand, if its a very bright sunny day, you can use a relatively low ISO (100, 125, 200) and have little to no noise in your photographs.
 ISO 2000
 ISO 1600
 ISO 1250
 ISO 1000
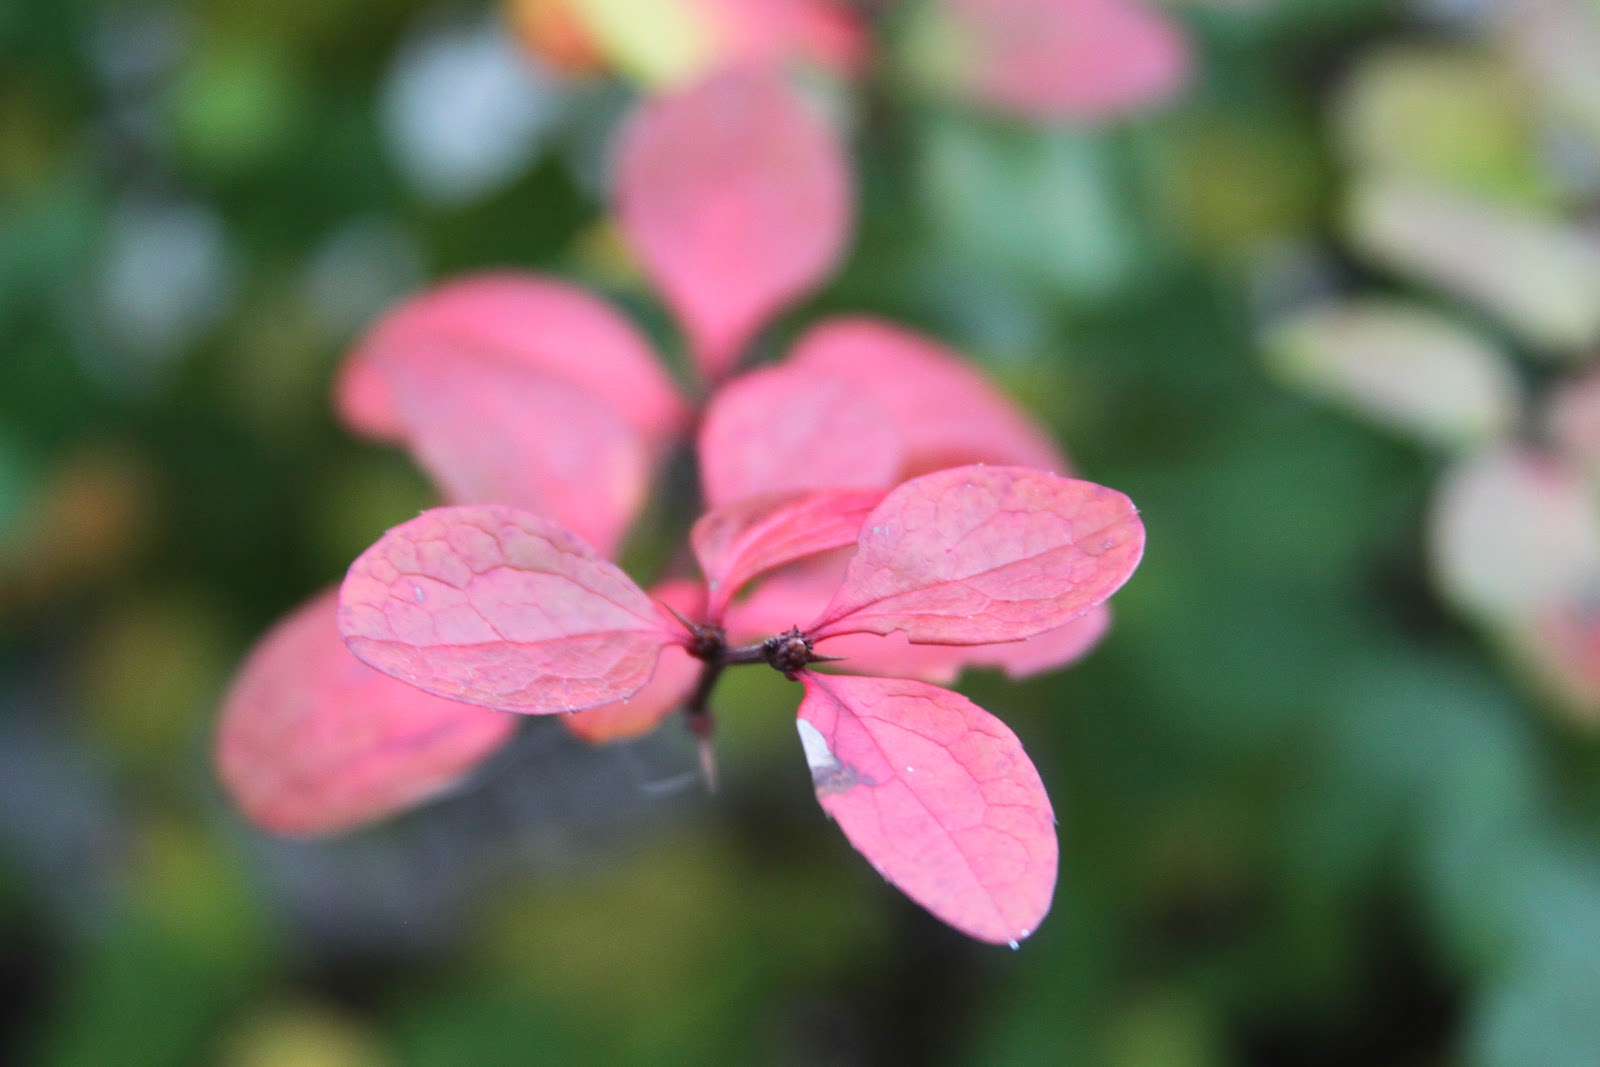 ISO 800
 ISO 640
 ISO 500
 ISO 400
 ISO 320
 ISO 250
 ISO 200
As I changed the ISO lower, it recorded light more slowly than a higher ISO would, this accounts for the slight blurriness in the last three photographs as it has been overcast for probably the past two weeks. =] However you can still clearly see the difference between the noise in photograph 1 and 10.
No comments:
Post a Comment